
Hello!
Today I'm going to record down the ways I make incense sticks and incense cones.
The traditional way to make incense is very time consuming and a lot of work is involved. Basically, they are the steps as follow:
Preparation:
- Confirm the recipe and determine the ingredients needed.
- Source for ingredients.
- Here are two parts of how to procese the ingredients depends on the recipe:
a.) Some ingredients have to be cooked/ steamed/ preserved in wine;
b.) Some are grinded into powder. - Sift the powder by a mesh screen to remove bigger particles.
Making incense dough:
- Mix the different ingredients according to the proportion into a bowl. I use a ceramic bowl. Yes, I love ceramic so much!
- Add water to the mixture ingredients slowly and make it into dough. The
water must be good quality and clean. Some artisans use mineral water
for better results.
- Kneading the dough. Here is the
wonderful part of the hand making. Although I have a recipe, I have to
observe whether the dough is just nice when hand-kneading the dough
depending on experience. You see, books or teachers will teach us the
theory but we have to trial and error over and over again.
- Then, rest the dough in a jar with a closed lid. I use a clay jar this time.
Making incense stick:
- Take out the incense dough when it rests enough.
- Take a small portion of the dough and put it in a presser.
- Press the dough out in a long strip. The length of the strip has to be
longer than the final length as it will shrink when drying. This step
takes a long time. While the machine could produce many sticks in one
minute, I took minutes to handmake a stick. It sounds silly but this
isn't the incredible experience of hand-crafting? When I slow down
myself and fully concentrate on something, I will go into a state of
meditation or we call it mindfulness.
- Cut the extra length and find out the flaw strips and redo.
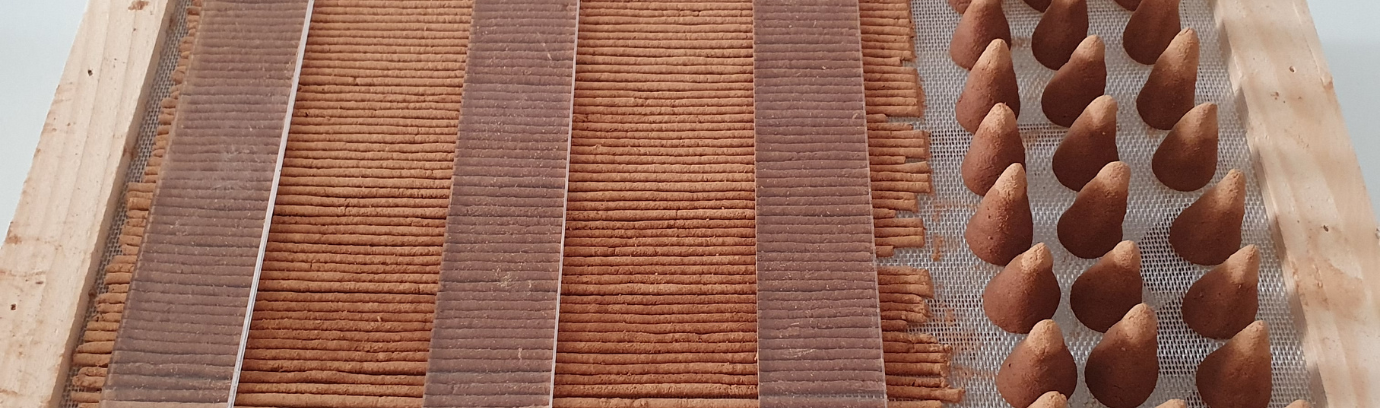
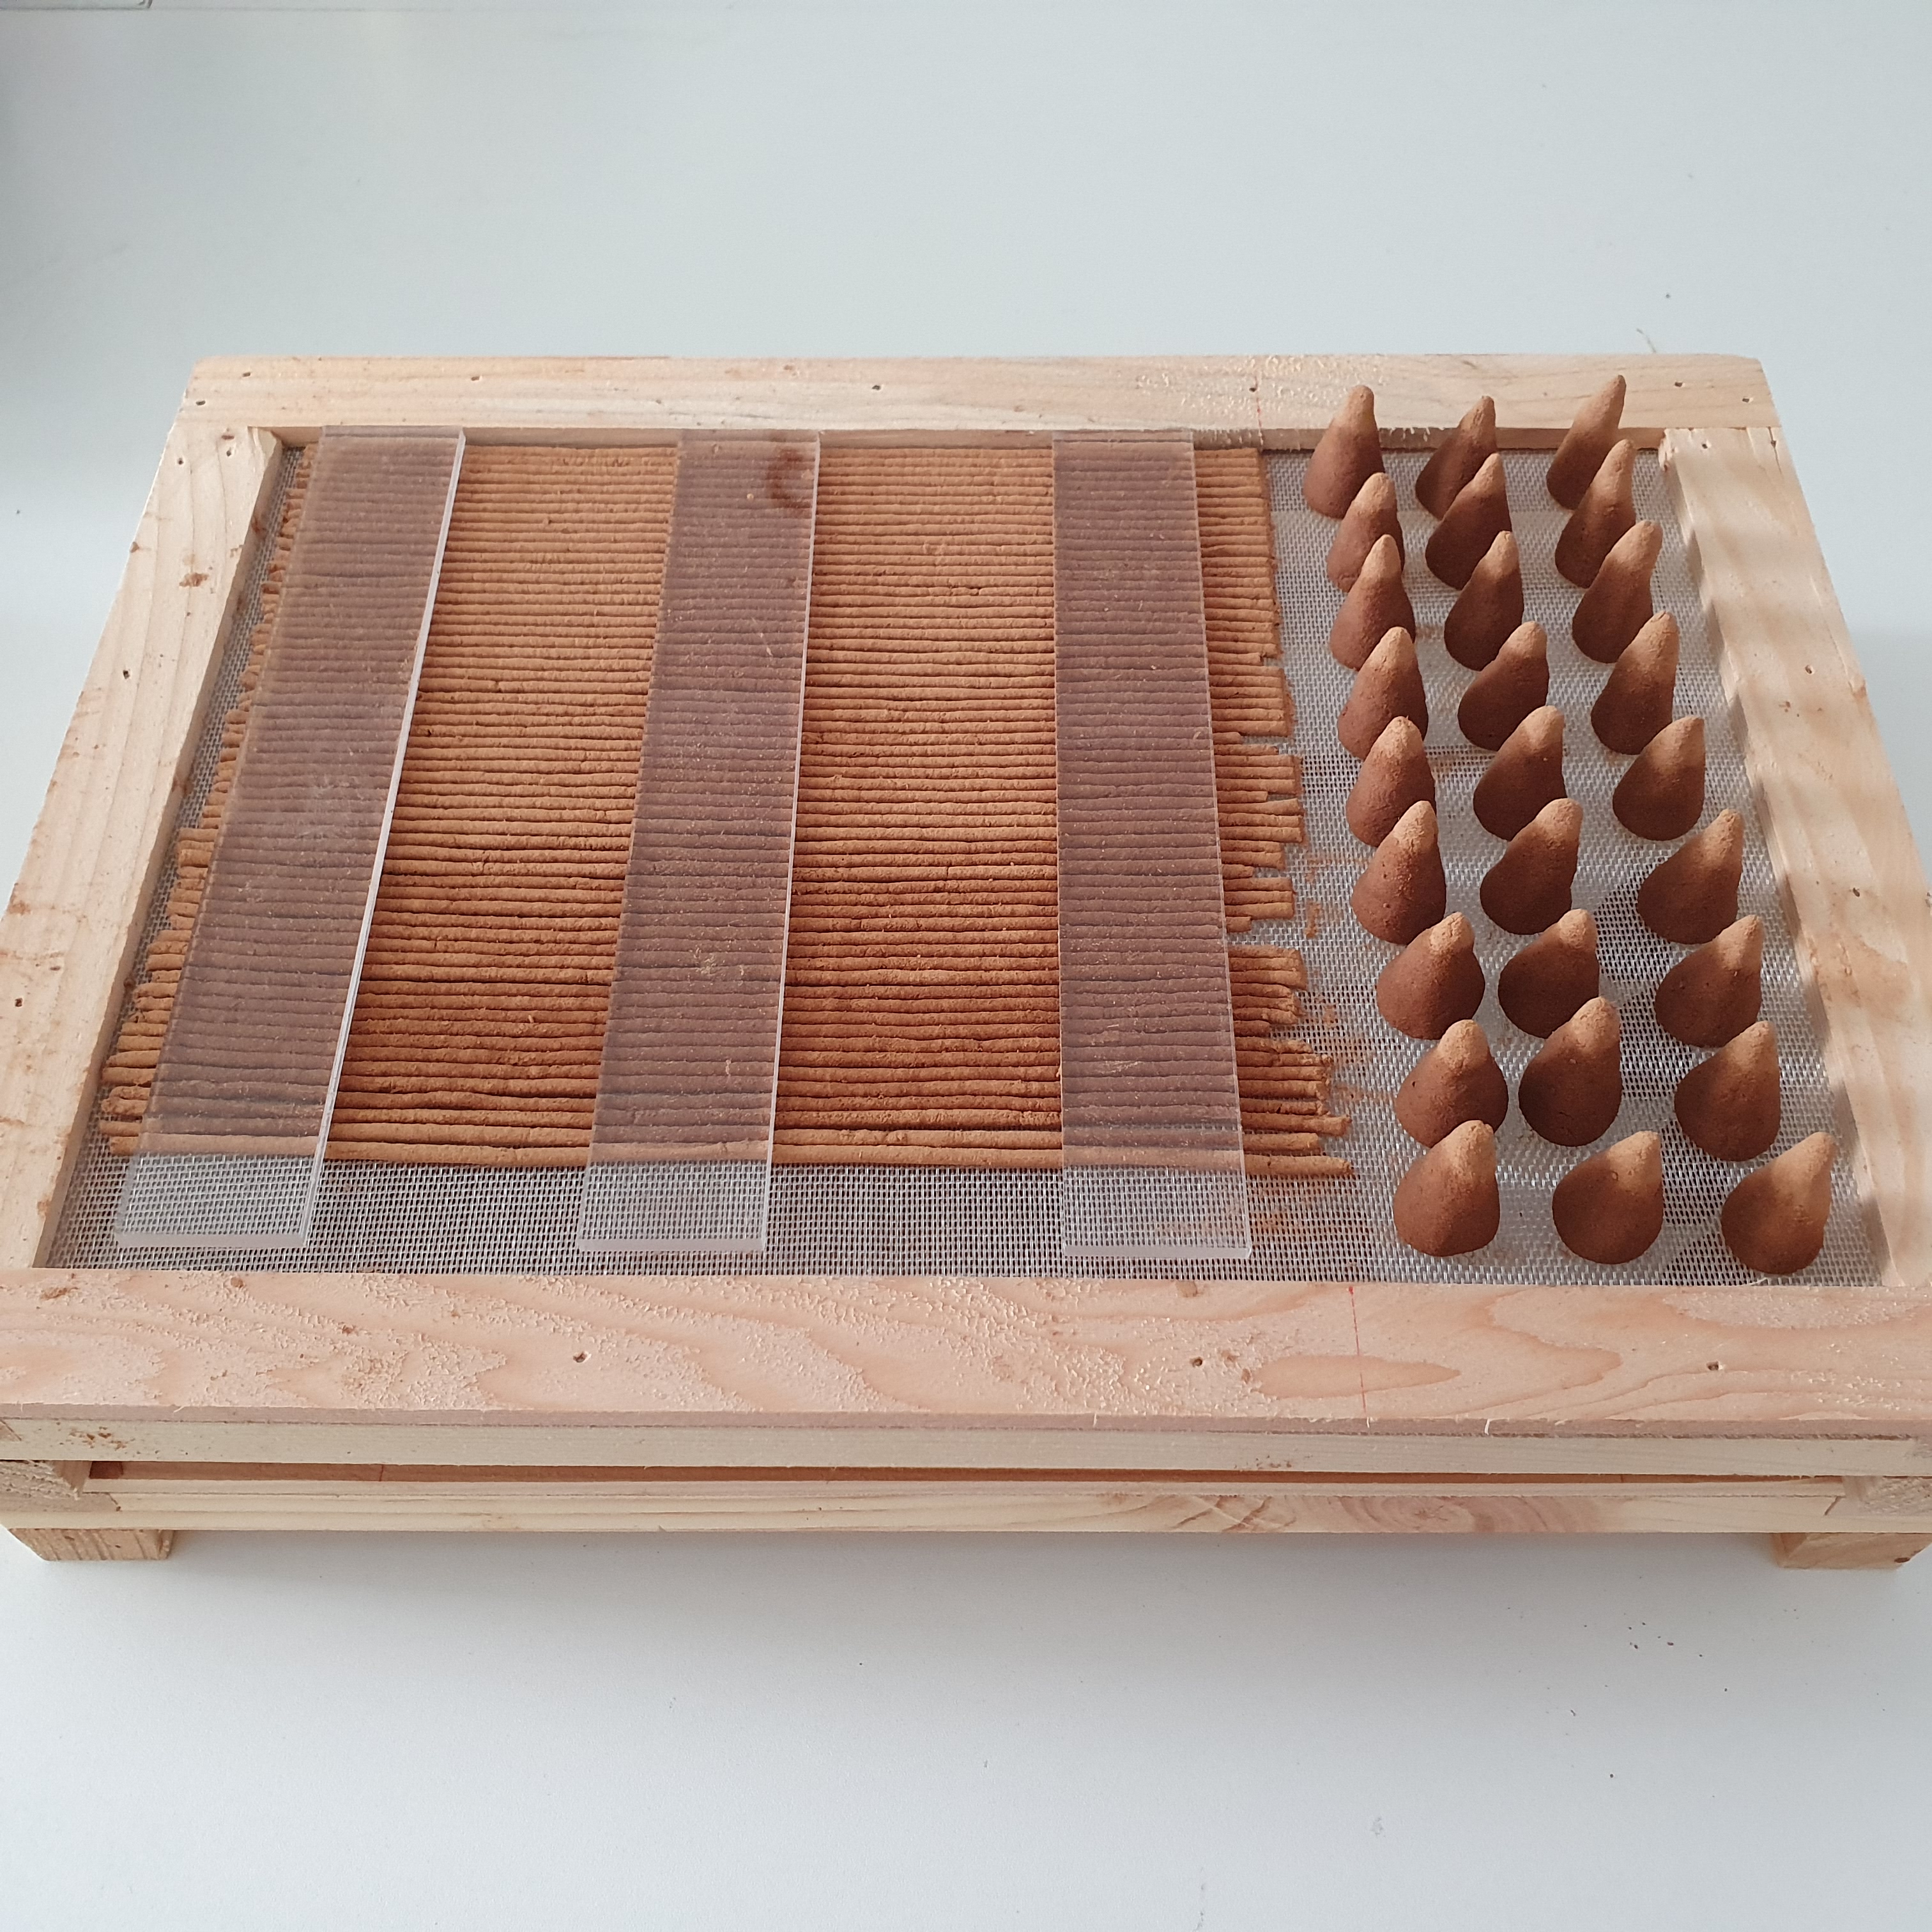
- After about half an hour, transfer the incense strips to the drying net, straighten the incense strips.
- Let the incense dry naturally. The incense has to be avoided from direct sun.
- Check the condition regularly and make some adjustments like placing the ruler or board on top of the incense to prevent it sticking up. Usually it takes about 2 or 3 days before proceeding to the next step.
The preparation and making dough are the same as incense sticks.
- Take out the incense dough and pinch a small amount of the dough about 3 to 4 g each.
- I will shape the cones by hand. Place it on the drying net and let it dry naturally. Cones need more drying time than incense sticks.
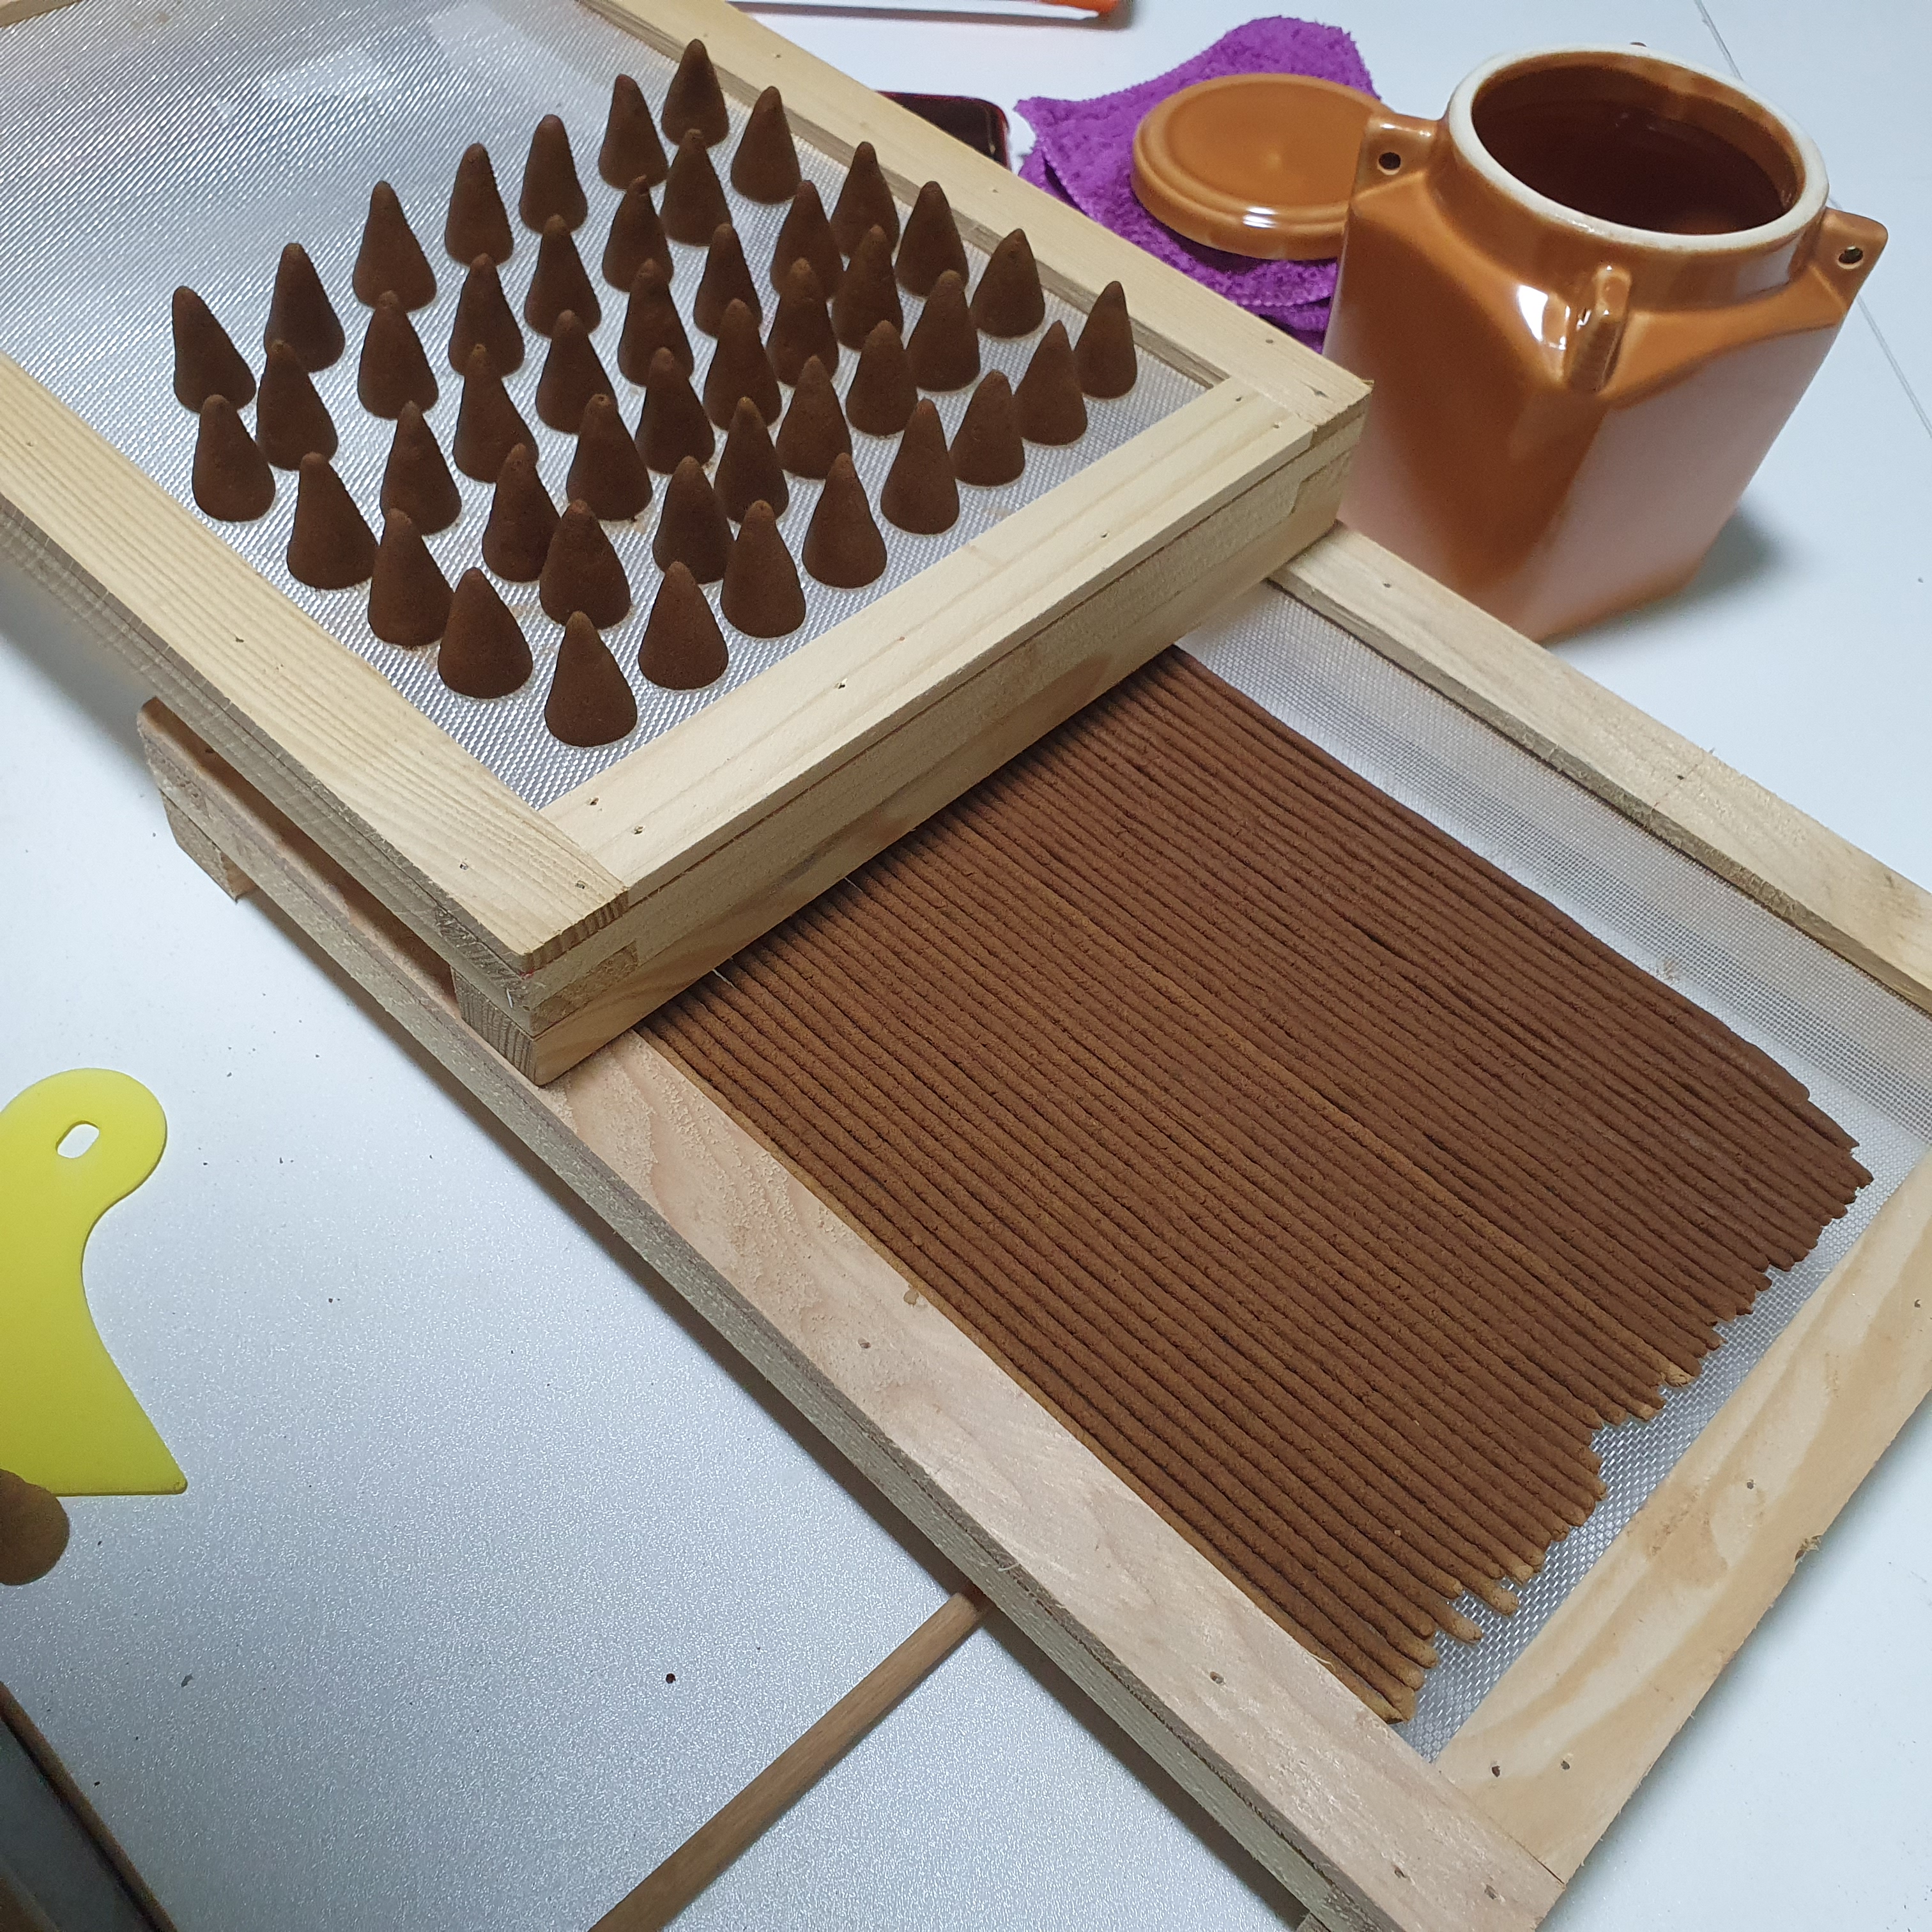 Incense ready for drying.
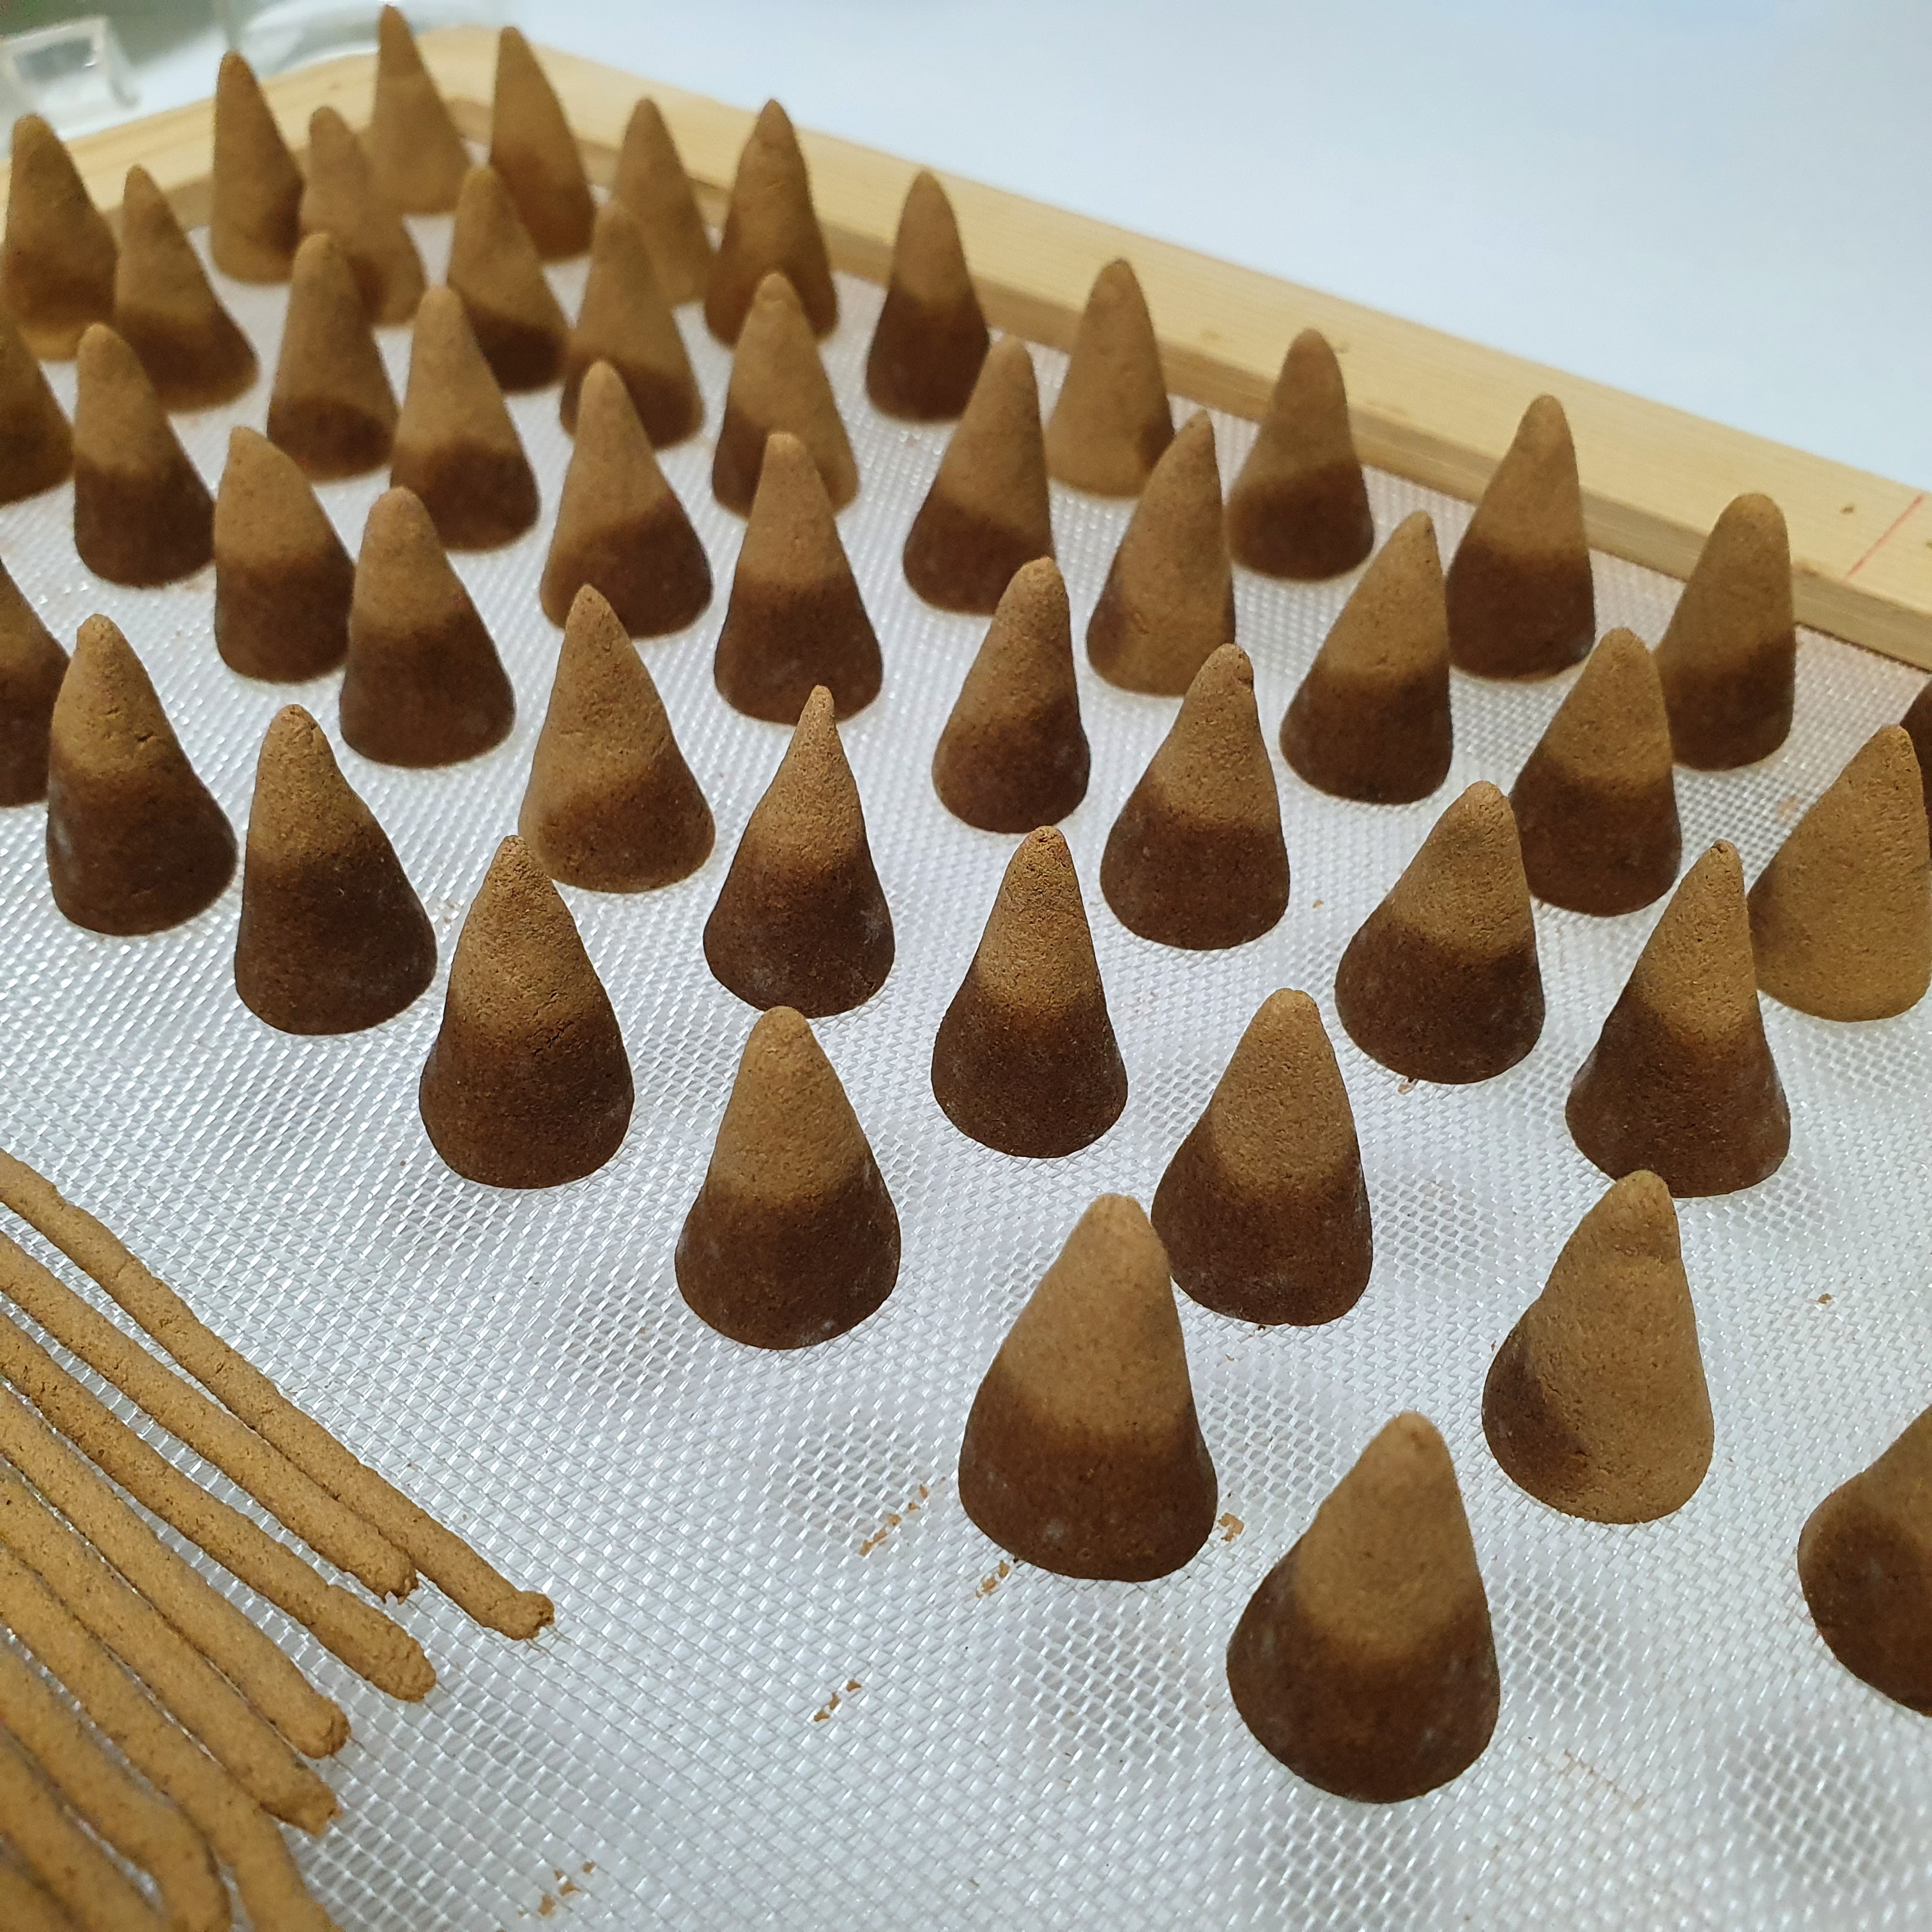 Incense are placed on the drying net for natural drying.
Storage:
- After the incense is completely dry, check again the quality. Try to light an incense to test.
- Store the incense stick for a minimum 3 months to 6 months depending on the recipes. Blended incense requires more cure time than the single note incense so the ingredients are combined well. Incense is quite similar to aged wine. The scents of incense are deeper and more mellow as time passes if stored properly. It's hard to find aged incense in the market and it's usually personal collectibles by enthusiasts.
In the next article, I will share how to burn incense.
See you soon!